
- A+
Introduction
Resetting a printer may seem like a daunting task, but it can often resolve issues such as error messages or unresponsive printers. This step-by-step guide will walk you through the process of resetting your printer.
Step 1: Power Off and Unplug
The first step in resetting your printer is to power it off completely. Press the power button and wait for the printer to completely turn off. Once the printer is off, unplug it from the wall outlet.
Step 2: Wait and Replug
After unplugging your printer, wait at least one minute before plugging it back in. This wait time will allow any residual power to dissipate from the printer. Once a minute has passed, plug the printer back into the wall outlet.
Step 3: Power On
Now that your printer is plugged back in, it's time to power it on. Press the power button and wait for the printer to turn on. You should see the printer's start-up sequence, including any lights flashing or sounds the printer makes during start-up.
Step 4: Test Print
With your printer now on, it's time to test if the reset worked. Print a test page from your computer to ensure the printer is functioning properly. If the test page prints successfully, your printer has been successfully reset.
Common Issues Resetting Your Printer Can Solve
Resetting your printer can resolve a variety of issues, including:
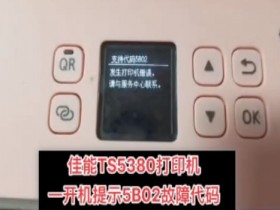
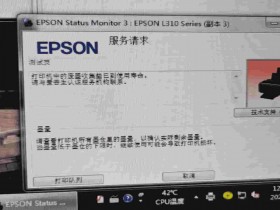
Error messages on the printer's display
The printer being unresponsive or not printing
Issues with wireless connectivity
Problems with ink cartridges or paper jams
Conclusion
Resetting your printer is a simple and effective solution to many common issues. Follow these steps and you could save yourself the time and money of having to replace your printer altogether. If you continue to experience issues with your printer, it may be time to seek professional help from a printer repair service.